
Maintaining your car’s paintwork is crucial for both its appearance and long-term value. Over time, environmental contaminants, swirl marks, and minor scratches can dull your vehicle’s finish. Paint correction, using the right polishing tools, can restore that showroom shine. If you’re looking to tackle this task yourself without breaking the bank, Harbor Freight offers a range of polish tools that are accessible for both beginners and seasoned car enthusiasts. This guide will walk you through the essential steps of car paint correction, focusing on choosing the right “Polish Tool For Car Harbor Freight” to achieve professional-level results at home.
Step 1 – Wash & Dry: The Foundation for Flawless Polishing
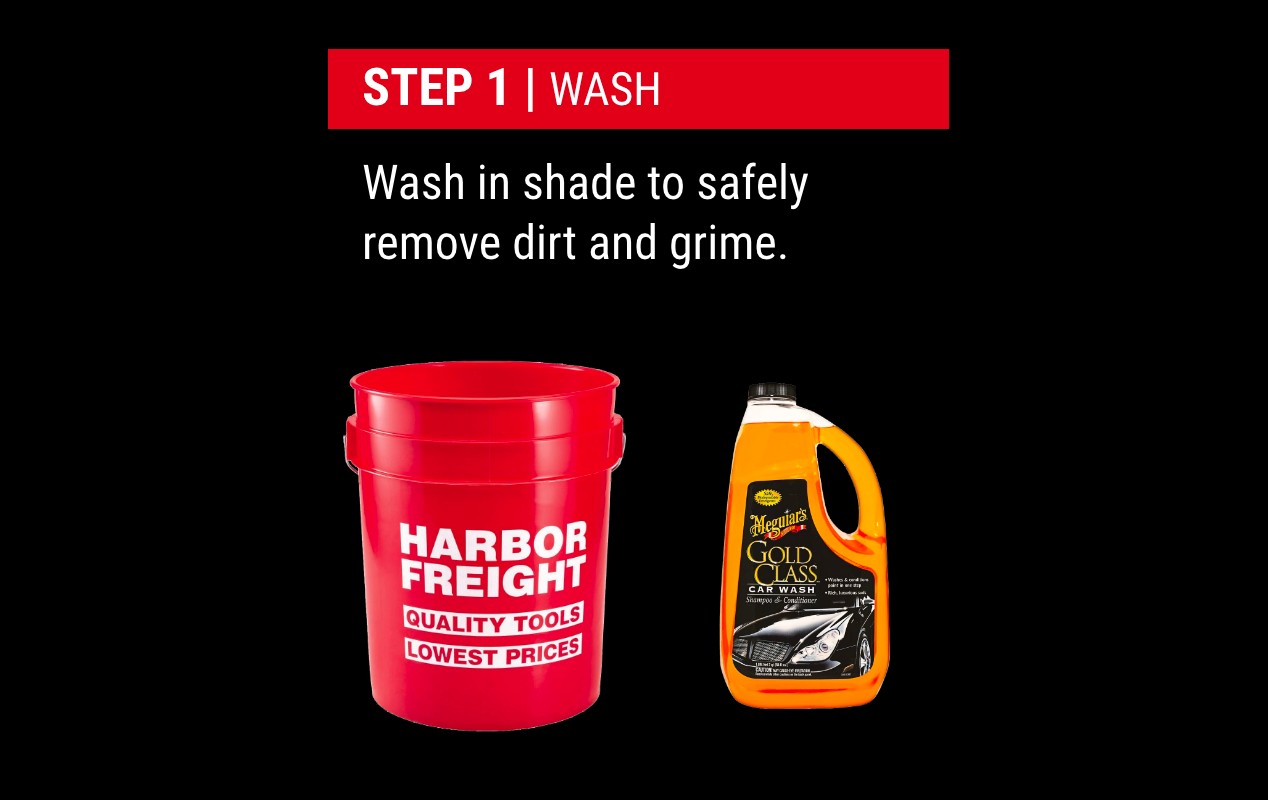
Before you even think about polishing, a meticulous wash is non-negotiable. This crucial first step removes loose dirt and grime, allowing you to properly assess the paint’s condition and prevent scratching during the polishing process. Start with a high-quality car wash shampoo like Meguiar’s Gold Class Shampoo & Conditioner (SKU 56806), available at Harbor Freight, and a soft wash mitt such as the HFT 2-In-1 Microfiber Chenille Wash Mitt (SKU 60304).
Once washed, proper drying is equally important to prevent water spots. Use a premium drying towel like Grant’s 6 Sq. Ft. Premium XL Plush Drying Towel (SKU 64312). A pro tip for drying: utilize the dark grey side for painted surfaces and the lighter grey side for windows, enhancing drying efficiency and glide on glass.
Step 2 – Decontamination: Removing Embedded Imperfections
After washing and drying, your paint might still harbor embedded contaminants like overspray, tree sap, or industrial fallout. These contaminants not only diminish the paint’s gloss but can also hinder the effectiveness of polishing. To check for these, the plastic bag test is a simple yet effective method. Place your hand inside a plastic sandwich bag, lightly dampen it, and gently rub it over the paint surface. If you feel bumps, it’s time for decontamination with a clay bar.
Meguiar’s C2000 Mild Detailing Clay (SKU 56858), used with Meguiar’s M34 Final Inspection spray lubricant (SKU 56860), both available at Harbor Freight, will effectively remove these bonded contaminants, leaving your paint smooth and ready for polishing. This step is crucial for achieving a truly flawless finish.
Step 3 – Paint Inspection: Identifying Defects
With your car clean and decontaminated, it’s time to assess the paintwork for defects. Identifying the type and severity of imperfections like oxidation, swirl marks, scratches, or marring is essential for choosing the correct polishing approach. Inspect the paint under direct sunlight to reveal swirl marks and scratches or use a dedicated light source like the Braun Professional Rechargeable Color Match Light (SKU 56354) inside a garage. A pro tip for lighter and metallic paints: dim ambient light and use a focused light source in a dark garage to make defects more visible.
If your paint exhibits significant swirl marks and scratches, paint correction with a compound and polish is necessary. If the paint is in good condition with minimal defects, you might be able to proceed directly to applying wax or sealant after a light polish.
Step 4a – Selecting Your Polish Tool: Harbor Freight Options
For paint correction, especially for beginners, a Random Orbital or Dual Action (DA) polisher is highly recommended. These polishers are safer to use than rotary polishers, reducing the risk of damaging the paint while still effectively removing defects. For experienced users, a Variable Speed Rotary Polisher can be considered for faster defect removal, but it requires more skill to avoid creating holograms or burning the paint.
Harbor Freight offers excellent and budget-friendly options for DA polishers. The Bauer 8mm Random Orbital 6 In. DA Polisher/Sander (SKU 64528) is a solid choice for general paint correction tasks. For larger vehicles or faster correction, consider the Bauer 20mm Long-Throw Random Orbital DA Polisher (SKU 56367). Both are ideal “polish tool for car harbor freight” selections for beginners and enthusiasts seeking safe and effective paint correction.
Step 4b – Choosing the Right Polishing Pads: Matching Pads to Defects
Selecting the correct polishing pads is as crucial as choosing the right polisher. For Harbor Freight DA polishers, 6-inch foam pads are recommended. Rotary polishers typically use larger 7-9 inch pads. Foam pads come in varying degrees of aggressiveness, indicated by color and density.
For significant defects, the Bauer Coarse Foam Polishing Pad (BLUE, SKU 56549), when paired with Meguiar’s M105 Ultra-Cut Compound, provides the necessary cutting power. For moderate defects, the Bauer Medium Foam Polishing Pad (GREEN, 56547) used with Meguiar’s Dual Action Cleaner/Polish (SKU 62562) is an excellent one-step correction solution before waxing.
For minor defects or as a refining step after compounding, the Bauer Fine Foam Polishing Pad (YELLOW, SKU 56665) with Meguiar’s M205 Ultra Fine Finishing Polish (SKU 62224) will enhance gloss and remove light imperfections. For exceptionally soft or delicate paints, the Bauer Ultra-Fine Foam Polishing Pad (WHITE, SKU 56664) offers the gentlest polishing action.
A pro tip: keep multiple pads of each type on hand. This allows for pad changes when they become saturated with polish residue, clogged with removed paint, or accidentally contaminated.
Step 5 – Pad Priming, Test Spot & Polishing: Perfecting Your Technique
Before starting full correction, “priming the pad” is a key step. Apply a thin, even layer of your chosen compound or polish across the pad surface. Place the primed pad against the paint and operate the polisher at speed 3 for about 30 seconds with light pressure. This ensures even product distribution within the pad, preventing dry spots and inconsistent results.
After priming, apply 3 pea-sized drops of compound or polish near the pad’s edge and place it on the paint. Work in manageable 2×2 foot sections for 30-60 seconds at speeds 3-5. After polishing a section, wipe away the residue and inspect your work. If defect removal is satisfactory, continue around the vehicle. For stubborn defects, repeat the process or consider a more aggressive pad and product combination.
Don’t forget essential microfiber towels for wiping away polish and compound residue. Grant’s Luxe Finish Microfiber Towels 12 Pack (SKU 63028) or Grant’s Dual Sided Microfiber Detailing Towel 2-packs (SKU 64283) from Harbor Freight are excellent choices.
Step 6 – Applying Protection: Locking in the Shine
The final step after paint correction is applying protection to preserve your newly polished finish. Use the least aggressive pad, such as the Bauer Ultra-Fine Foam Polishing Pad (WHITE, SKU 56664), to apply a liquid wax or sealant. Meguiar’s Mirror Glaze Hi-Tech Yellow Wax (SKU 62226) or Meguiar’s Mirror Glaze Synthetic Sealant 2.0 (SKU 56853), both available at Harbor Freight, are excellent options.
Apply a thin, even layer of wax or sealant panel by panel at speed 3. No need to work it in aggressively; simply spread it evenly. Allow the product to dry for 2-5 minutes before buffing off the excess with a clean microfiber towel. Repeat this process panel by panel until the entire vehicle is protected.
By following these steps and utilizing the right “polish tool for car harbor freight” along with quality products, you can achieve professional paint correction results and maintain a stunning finish on your vehicle.