
Replacing your car’s factory radio with a modern head unit can dramatically improve your driving experience, bringing features like wireless CarPlay, Android Auto, and enhanced audio quality. If you’re planning to upgrade your car stereo yourself, one of the most crucial steps is safely removing the existing unit and its surrounding trim. This is where having the right Trim Tools For Car Stereo Installation becomes indispensable. Attempting this task without proper tools can lead to scratched dashboards, broken clips, and unnecessary frustration. Let’s dive into how to use trim tools effectively for a seamless car stereo installation, drawing on a real-world upgrade experience.
The journey begins with carefully removing the factory radio bezel. As demonstrated in a recent upgrade of a Jeep Compass, the initial step involves using trim tools to gently separate the bezel from the dashboard. These tools, typically made of nylon or plastic, are designed to prevent damage to your car’s interior. Instead of resorting to screwdrivers or other metal objects that can easily scratch or dent your dashboard, slide a trim tool into the gap between the bezel and the dash.
With the trim tool inserted, apply firm, even pressure to pop the bezel clips loose. It’s important to pull straight out and avoid levering the tool against the dash, which can cause permanent indentations. The factory bezel can be held in place quite tightly, so be prepared to use a bit of force, but always ensure it’s controlled and distributed through the trim tool to minimize risk. Once the bezel is free, you’ll gain access to the radio unit itself and the various connectors at the back.
After removing the bezel, the next step is disconnecting the wiring harnesses. Typically, you’ll encounter a main connector with a lever system and potentially other smaller connectors for antennas and USB ports. For the main connector, locate the lever, push the end to release it, and then rotate the lever upwards. This action smoothly ejects the connector from the radio. For other connectors, you’ll usually need to squeeze a tab to release them. Having trim tools, especially those with angled ends or specialized shapes, can be helpful for reaching and manipulating these connectors in tight spaces.
Once the old radio is out, you’ll likely need to transfer components like AC vents and plastic clips from the original bezel to the new one that comes with your aftermarket head unit. These vents are usually secured with a combination of screws and plastic tabs. Carefully remove the screws and then use a trim tool or a small flat screwdriver to gently pry out the plastic tabs. Patience is key here to avoid breaking these often-fragile clips. Similarly, the plastic clips that secure the bezel to the dashboard can be removed using a trim tool or a metal pick, again being careful not to apply excessive force that could send them flying or damage them.
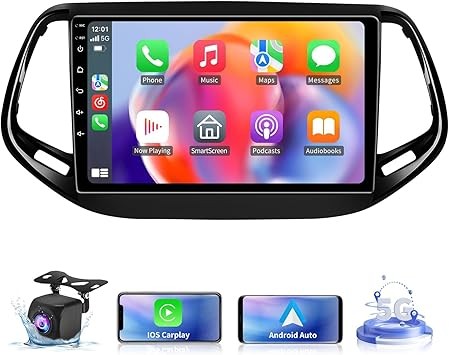
With the preparations complete, it’s time to connect the wiring for your new car stereo. Adapter harnesses usually make this process straightforward, with connectors designed to fit only in their designated spots, preventing wiring errors. You’ll typically connect the antenna adapter for AM/FM radio, and potentially a USB adapter if you want to retain factory USB ports. In some cases, like the Jeep Compass upgrade, a yellow RCA cable might be used to connect the factory reverse camera to the new unit. Additional components like GPS antennas and external microphones may also need to be positioned and connected.
Finally, after all connections are made and neatly organized, often with zip ties, carefully slide the new head unit into the dashboard opening until the clips engage and secure it in place. The result is a clean, professional-looking installation that enhances both the aesthetics and functionality of your car’s interior.
Upgrading your car stereo is a rewarding DIY project. Using trim tools for car stereo installation not only protects your vehicle’s interior but also makes the entire process smoother and more efficient. While instructions included with aftermarket units can sometimes be lacking, and support may vary, the right tools and a bit of patience can lead to a successful and satisfying upgrade, improving your in-car entertainment and driving pleasure.