
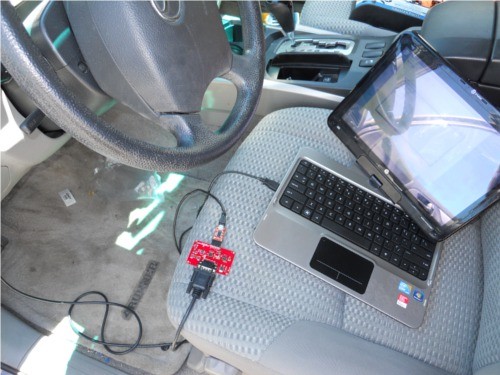
Connecting your car’s OBD2 port to a serial interface opens up a world of possibilities for diagnostics and data analysis. This guide explores the Obd2 To Serial Interface using the SparkFun OBD-II UART board, providing insights into hardware, commands, and connection methods.
Connecting the OBD2 to serial interface allows direct communication with your vehicle’s computer.
Understanding OBD2 and Serial Communication
On-Board Diagnostics, Second Generation (OBD2), is a standardized system for monitoring and diagnosing vehicle emissions and performance. Accessing this system requires a connection to the OBD2 port, typically located under the dashboard. An OBD2 to serial interface translates the vehicle’s data into a format readable by computers and microcontrollers via a serial port. This allows for real-time data logging, diagnostics, and even custom control applications. The SparkFun OBD-II UART board, built around the STN1110 interpreter chip, provides a reliable and versatile solution for establishing this connection. It supports various OBD-II protocols and utilizes the common ELM327 command set.
Hardware Overview: The SparkFun OBD-II UART Board
The SparkFun OBD-II UART board features the STN1110 OBD-to-UART interpreter and the MCP2551 CAN transceiver, enabling communication with both CAN and OBD-II protocols. The board regulates voltage to 5V and 3.3V and connects to the vehicle using a DB9 connector.
Connecting the OBD2 to serial interface with an Arduino allows for custom data display and logging.
Pinouts and Connections
The board offers two connection points:
- 6-pin FTDI Header: For direct UART communication with a computer via an FTDI Basic breakout board. This header connects TX, RX, and GND pins.
- 8-pin Header: Provides access to VBAT, CAN bus, LINE bus, J1850 bus, and GND.
Establishing Communication: Direct Connection via FTDI
Connecting the OBD2 to serial interface directly to your computer requires an FTDI Basic and a serial terminal.
- Solder Headers: Attach male headers to the 6-pin FTDI header on the OBD-II UART board.
- Connect to Vehicle: Connect the OBD-II to DB9 cable to the vehicle’s OBD2 port and the other end to the OBD-II UART board.
- Connect to Computer: Connect the FTDI Basic to the 6-pin header and to your computer via USB.
- Configure Serial Terminal: Set the serial terminal to 9600 bps, 8 data bits, 1 stop bit, and no parity.
- Initialize Communication: Send the
ATZcommand to reset the board.
OBD2 Commands and Data Retrieval
Communication with the OBD-II UART board relies on AT commands. These commands, always initiated with “AT,” control the board’s functions and retrieve vehicle data. The ATRV command, for example, reads the system voltage.
Decoding OBD2 Data
OBD2 commands use hexadecimal codes representing modes and Parameter IDs (PIDs). The first hex pair signifies the mode (e.g., Mode 01 for current data), while subsequent pairs specify the PID to be read. The command 0100, for instance, requests a list of supported PIDs in Mode 01. Responses follow a specific structure, starting with the mode (0x41 for Mode 01), followed by the PID, and then the data bytes.
Connecting to an Arduino for Enhanced Functionality
Integrating the OBD2 to serial interface with an Arduino allows for more complex data processing and display.
Wiring and Code
Connect the OBD-II UART’s TX and RX pins to the Arduino’s digital pins (using SoftwareSerial) and incorporate a serial LCD for data visualization. A sample Arduino sketch (available on GitHub) demonstrates reading vehicle speed and RPM. Remember to disconnect the OBD-II board’s RX line during code upload to prevent potential issues.
Conclusion
The OBD2 to serial interface, facilitated by the SparkFun OBD-II UART board, empowers users to tap into the wealth of information provided by their vehicle’s OBD2 system. Whether through a direct connection to a computer or integration with an Arduino, this interface offers a versatile platform for diagnostics, data analysis, and custom automotive applications. Explore the resources mentioned throughout this guide to delve deeper into specific commands, protocols, and project ideas.