The Tesla Model 3 and Model Y, while technologically advanced, lack a readily accessible OBD2 port. This can make diagnostics and data logging challenging. A Model 3 Obd2 Adapter provides a solution by bridging the gap and enabling connection to standard OBD2 diagnostic tools. This article guides you through the installation and usage of an OBD2 adapter for your Tesla Model 3 or Model Y.
Why You Need a Model 3 OBD2 Adapter
An OBD2 adapter allows you to connect a standard OBD2 Bluetooth dongle or device to your Tesla. This unlocks access to valuable vehicle data, enabling you to:
- Diagnose Issues: Identify and troubleshoot potential problems with your Tesla using readily available OBD2 scanners.
- Monitor Performance: Track real-time data like speed, engine RPM, coolant temperature, and battery voltage.
- Customize Features: Certain OBD2 dongles allow for customization and activation of hidden features in your Tesla.
- Log Data: Record driving data for performance analysis or insurance purposes. This is particularly useful for enthusiasts and those interested in in-depth vehicle analysis.
Installing the OBD2 Adapter in Your Tesla Model 3
Installation of the OBD2 adapter requires careful attention to detail and adherence to safety procedures.
Pre-Installation Steps:
- Disable Sentry Mode: Deactivate Sentry Mode through the Tesla mobile app or the car’s touchscreen (Controls -> Security -> Sentry Mode = Off).
- Power Off Completely: Open the driver’s side window fully. Close the driver’s door. Open a rear door for access after power off. From the touchscreen, navigate to Controls -> Security -> Power Off. Wait outside the vehicle for 8-10 minutes until you hear a relay “click” and all humming ceases. This ensures the vehicle’s systems are fully shut down.
Installation in 2019-2023 Models:
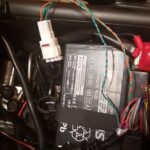
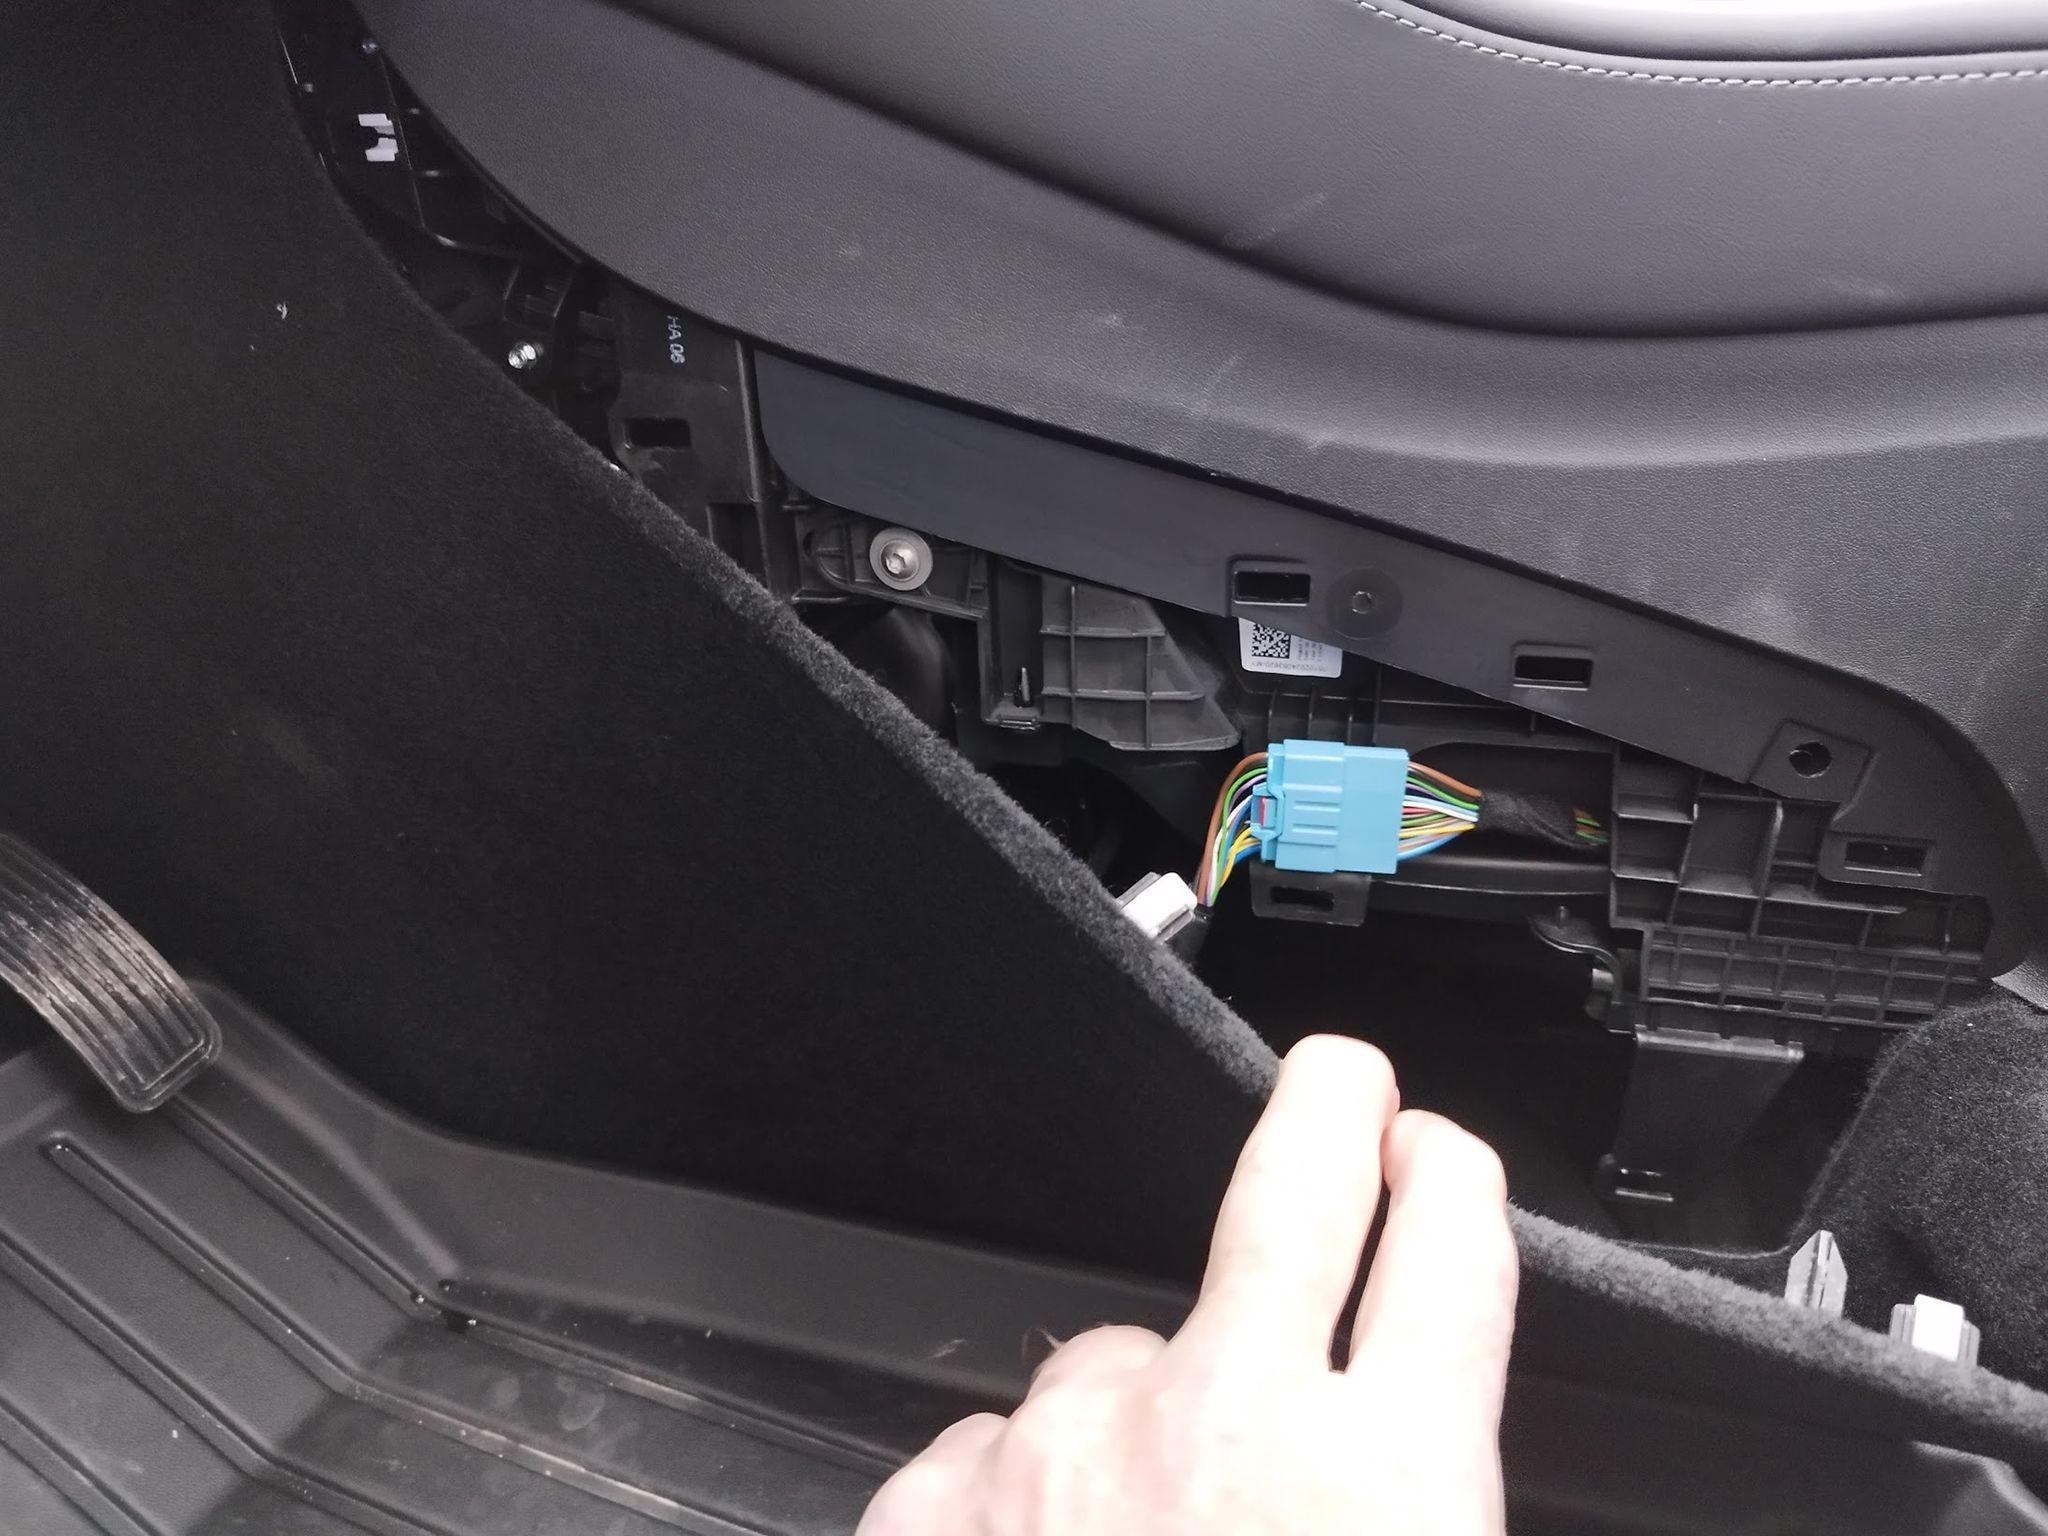
- Locate Connector: Remove the protective cover in the rear footwell (secured by 5 clips). You’ll find the wiring harness and connector underneath.
- Connect Adapter: Disconnect the existing connector and carefully insert the OBD2 adapter between the two halves. Ensure a secure connection.
- Reassemble: Replace the protective cover.
Installation in 2024+ Models:
The OBD2 adapter installation location differs in newer Model 3 vehicles. The connector is situated in the driver’s footwell on the right side. Refer to the image below for the precise location.
Post-Installation Tip: Route the OBD2 port’s cable under the casing in the rear footwell or under the front seats for easier access. This eliminates the need to remove the cover each time you need to connect a device.
Choosing the Right OBD2 Dongle
After installing the adapter, you’ll need a compatible OBD2 dongle. Consider factors such as:
- Bluetooth Connectivity: Most modern dongles use Bluetooth for wireless communication with your smartphone or diagnostic device.
- Software Compatibility: Ensure the dongle works with your preferred diagnostic software or app. Popular options include Torque Pro and Scan My Tesla.
- Data Logging Capabilities: If data logging is crucial, verify the dongle supports this feature.
Conclusion
A Model 3 OBD2 adapter opens up a world of possibilities for diagnostics, data logging, and customization. By following the installation instructions carefully and selecting the right OBD2 dongle, you can gain valuable insights into your Tesla’s performance and health. Remember to prioritize safety and ensure the vehicle is completely powered off before starting the installation process.