
Connecting your car to a diagnostic scanner can seem daunting, but with an OxGord OBD2 scanner, the process is straightforward. This guide provides a step-by-step approach on how to use an OxGord OBD2 scanner to diagnose your vehicle’s issues.
Locating the OBD2 Port
Before connecting your OxGord scanner, you need to locate your vehicle’s OBD2 port. This 16-pin trapezoidal connector is typically found under the driver’s side dashboard. However, it can sometimes be hidden in the center console or under the passenger side dash.
Connecting the OxGord OBD2 Scanner
Once you’ve located the port:
- Turn the ignition off. This is crucial to prevent any electrical issues.
- Connect the OxGord scanner to the OBD2 port. The connector is designed to fit only one way, so align the trapezoidal shapes and firmly push them together. A slight wiggle might be necessary for a secure connection.
- Turn the ignition to the ‘on’ position without starting the engine. This powers up the scanner.
- Wait for the scanner to boot up. The OxGord scanner will initialize and display its menu. You may be prompted to enter vehicle information like the VIN.
Navigating the OxGord OBD2 Scanner Menu
OxGord OBD2 scanners offer various functionalities, accessible through the menu. Common options include:
Read Codes:
This function retrieves Diagnostic Trouble Codes (DTCs) stored in your vehicle’s computer, indicating potential problems. The scanner will display the codes and sometimes a brief description.
Erase Codes:
After addressing a problem, use this option to clear the DTCs from the vehicle’s memory. Always confirm your selection before erasing codes.
Live Data:
This feature displays real-time sensor readings, allowing you to monitor various parameters like engine speed, coolant temperature, and oxygen sensor voltage.
Freeze Frame:
Freeze Frame data captures the sensor readings at the moment a DTC was set, providing valuable context for diagnosing the issue.
Understanding Diagnostic Trouble Codes (DTCs)
DTCs are alphanumeric codes that follow a specific format: one letter followed by four numbers (e.g., P0301).
-
The letter indicates the system:
- P: Powertrain (engine, transmission, emissions)
- B: Body (airbags, interior systems)
- C: Chassis (suspension, steering)
- U: Network communication
-
The first number:
- 0: Generic code (applicable to most manufacturers)
- 1: Manufacturer-specific code
-
The remaining numbers pinpoint the specific system and fault. For instance, P0301 signifies a misfire in cylinder 1.
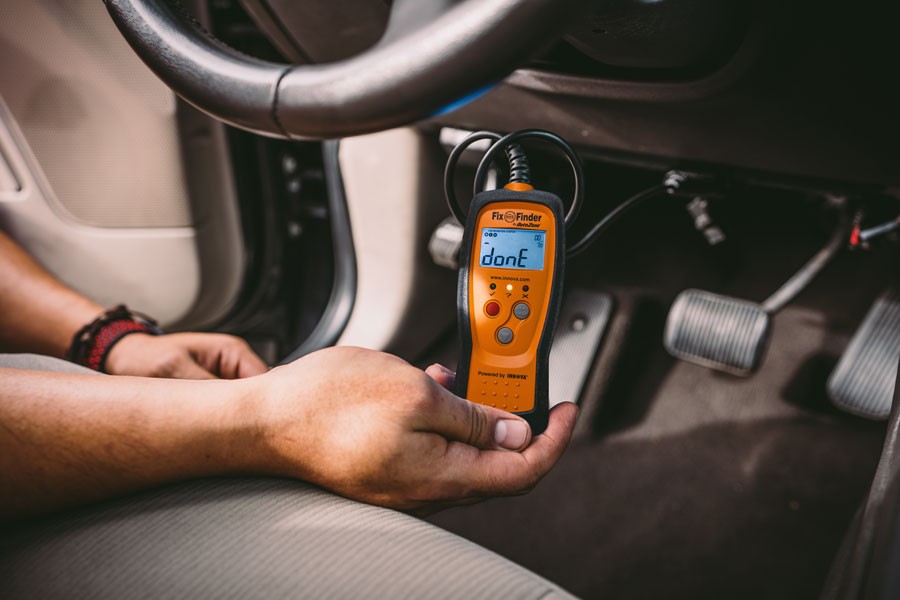 OBD-II scanner done reading trouble codes
Using Your OxGord OBD2 Scanner for DIY Repairs
An OxGord OBD2 scanner empowers you to diagnose car problems yourself, potentially saving on repair costs. By reading and understanding DTCs, you can identify the source of issues and even perform some repairs yourself. For example, a P0138 code (high voltage in oxygen sensor) often indicates a faulty sensor that you can replace yourself.
Conclusion
Using an OxGord OBD2 scanner is a simple yet powerful way to understand your vehicle’s health. This guide provides a solid foundation for using your scanner effectively. Remember to consult your vehicle’s repair manual for specific DTC interpretations and repair procedures. With an OxGord OBD2 scanner, you can take control of your car’s maintenance and save money on repairs.