An illuminated check engine light can be a source of anxiety for any driver. Fortunately, diagnosing the problem doesn’t always require a trip to the mechanic. AutoZone’s Fix Finder service, utilizing an OBD2 scanner, offers a free and convenient way to understand what’s triggering that warning light. This guide will walk you through how to use the OBD2 scanner Fix Finder to retrieve diagnostic trouble codes (DTCs) and get a clearer picture of your car’s health.
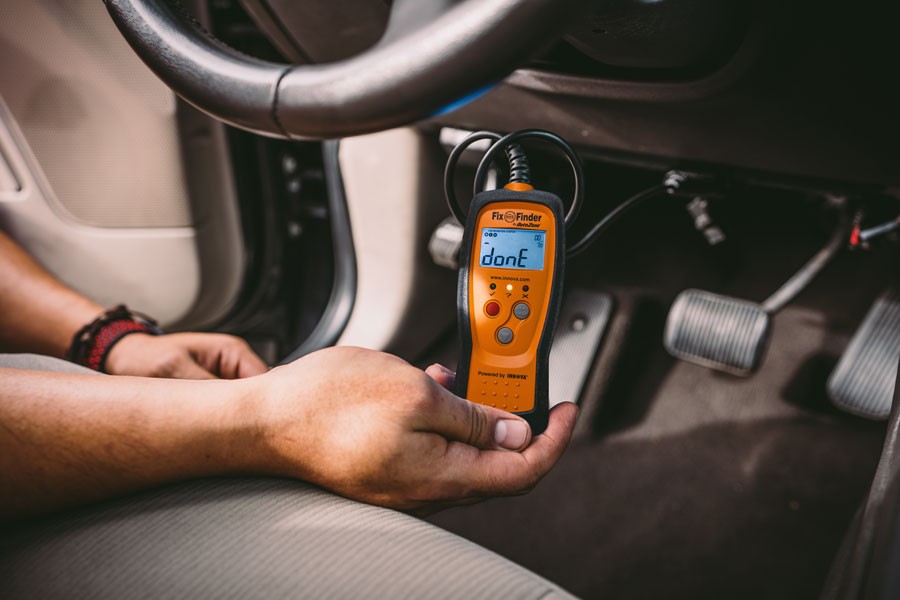 OBD-II scanner done reading trouble codes
Using the OBD2 Scanner Fix Finder: A Step-by-Step Guide
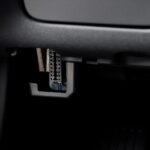
1. Preparation: Before beginning, ensure your vehicle is parked safely with the engine off and the parking brake engaged. Consulting your vehicle’s owner’s manual for the location of the Data Link Connector (DLC) is also recommended.
2. Locating and Connecting the Scanner: The DLC is typically located under the dashboard on the driver’s side, often near the steering column. Borrow an OBD2 scanner from an AutoZone employee. The connector on the scanner cable is keyed and will only fit one way into the DLC port.
3. Reading the Codes: Turn the ignition key to the “on” position without starting the engine. The scanner will automatically link with your vehicle’s computer and begin reading stored trouble codes. The scanner’s LCD screen will typically display “Read” followed by “Done” when the process is complete. This usually takes just a few seconds. Once finished, turn off the ignition and disconnect the scanner.
4. Retrieving the Diagnostic Report: Return the scanner to an AutoZone employee and provide them with your vehicle’s year, make, model, and engine size. They will download the data from the scanner and provide you with a free report outlining the detected trouble codes and their potential meanings. This report will also offer possible solutions to address the identified issues.
An AutoZone employee can assist in downloading and interpreting the data from the Fix Finder OBD2 scanner.
Understanding the OBD2 Scanner Fix Finder Indicators
The Fix Finder OBD2 scanner often features LED indicators that provide a quick visual assessment of your vehicle’s system status:
- Green LED (Checkmark): Indicates all monitored engine systems are functioning normally and no trouble codes are present.
- Yellow LED (Question Mark): Suggests that some system monitors haven’t completed their self-tests or a pending DTC exists. A full drive cycle might be necessary to allow these tests to complete.
- Red LED (X): Signals a problem with one or more vehicle systems and indicates the presence of one or more DTCs. This usually coincides with an illuminated check engine light on your dashboard.
Troubleshooting Common Issues
- Blank Scanner Screen: This suggests a lack of power to the DLC. Check your vehicle’s fuse box for any blown fuses related to the DLC or the Powertrain Control Module (PCM).
- No Codes Found: The problem might be manufacturer-specific, requiring diagnosis at a dealership. It’s also possible the issue is intermittent and not currently triggering a code.
- Connector Doesn’t Fit: Your vehicle might be older than the OBD-II standard, requiring a different type of scanner.
Conclusion
The OBD2 scanner Fix Finder provides a valuable tool for preliminary car diagnostics. By understanding how to use this tool and interpret its results, you can gain insights into the health of your vehicle and take informed steps towards addressing any potential problems. Remember, AutoZone staff are available to assist with the scanning process and offer guidance on next steps based on the diagnostic report. While the Fix Finder is a powerful tool, it’s important to remember that it’s a starting point for diagnosis. More complex issues may require further inspection by a qualified mechanic.