
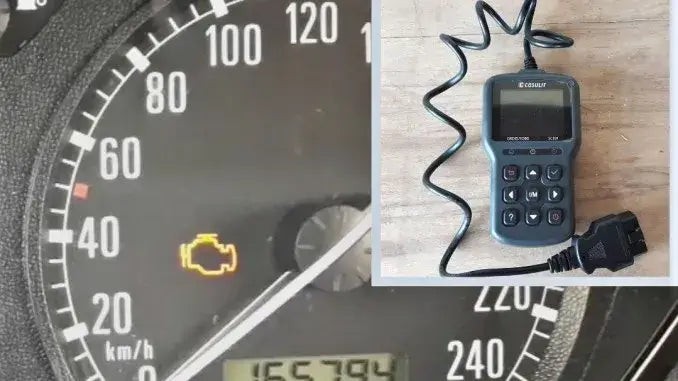
A flashing check engine light can be stressful. But with an OBD2 scanner, resetting the codes and turning off that light is often a simple DIY task. This guide provides a comprehensive walkthrough on How To Reset The Codes With Obd2, saving you a trip to the mechanic and putting you back in control.
An OBD2 reader, also called an OBD2 scanner, is essential for resetting your check engine light. However, not all OBD2 readers are created equal. Ensure your chosen reader can both read and clear trouble codes, as some basic models only offer reading capabilities.
Locating the OBD2 Port and Connecting the Scanner
1. Find the OBDII Port
The OBD2 port is typically located under the dashboard on the driver’s side, often near the steering column or within the center console area. Consult your vehicle’s owner’s manual for the precise location if you’re having trouble.
2. Connect the OBD2 Code Reader
Once located, firmly plug the OBD2 scanner into the port. Ensure a secure connection.
Powering Up and Reading the Codes
3. Turn on the Ignition
Turn the ignition key to the “on” position, activating the car’s electrical system without starting the engine. This powers up the OBD2 scanner.
4. Initiate the Scan
Allow the OBD2 reader to initialize and perform a scan of your vehicle’s diagnostic system. This process retrieves the trouble codes triggering the check engine light.
5. Interpret the Error Codes
The scanner will display a list of error codes. Understanding these codes is crucial. Consult the scanner’s built-in code library, your vehicle’s repair manual, or online resources to decipher their meaning and severity.
Clearing the Codes and Completing the Reset
6. Clear the Codes
Navigate the scanner’s menu to find the “clear codes” or “erase codes” function. Confirm your selection to clear the diagnostic trouble codes (DTCs).
7. Return to Home Screen
Return to the scanner’s main menu after clearing the codes.
8. Disconnect the OBD2 Reader
Safely disconnect the scanner from the OBD2 port.
9. Turn Off the Ignition
Turn off the vehicle’s ignition.
10. Verify the Reset
Start the engine. The check engine light should be off. If it remains on, re-scan for any persistent codes or consult a mechanic.
Conclusion
Resetting codes with an OBD2 scanner is a straightforward process empowering car owners to address minor issues. However, remember that clearing the code doesn’t fix the underlying problem. Always investigate and address the root cause indicated by the error codes to prevent recurring issues and ensure your vehicle’s health.