Connecting your OBD2 scanner to your car is a simple process. This guide provides a clear, step-by-step approach to help you locate the OBD2 port and properly connect your scanner.
Locating the OBD2 Port in Your Car
The OBD2 port, also known as the diagnostic link connector (DLC), is typically located under the dashboard on the driver’s side. It’s a 16-pin, trapezoid-shaped female connector. In some vehicles, it might be hidden in the center console or under the passenger side dash.
Connecting Your OBD2 Scanner: A Step-by-Step Guide
-
Turn Off the Ignition: Before connecting anything, ensure your car’s ignition is completely off. This prevents any potential electrical issues.
-
Connect the Scanner: Align the male end of the OBD2 scanner connector with the female port on your car. It only fits one way, so don’t force it. Gently but firmly push the connectors together until they click into place. A slight wiggle might help ensure a secure connection.
-
Turn the Ignition On: Turn the ignition key to the “on” position, but do not start the engine. This powers up the OBD2 port and your scanner.
-
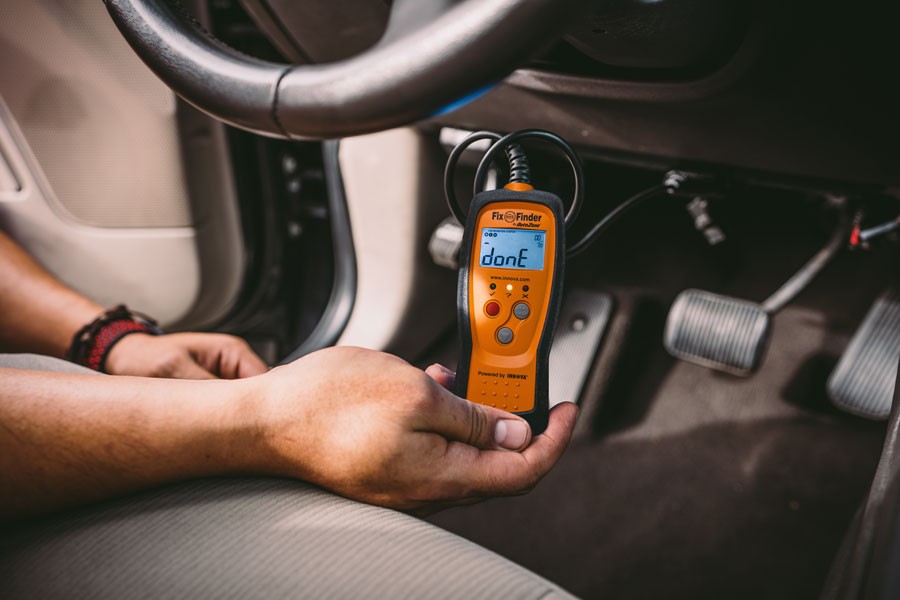
Power Up the Scanner: Most OBD2 scanners will power up automatically once connected to the energized port. Wait for the device to boot up completely.
-
Follow On-Screen Instructions: Your scanner will guide you through any remaining steps, such as entering your vehicle’s VIN, engine size, or prompting you to start the engine.
Understanding OBD2 Scanner Menus
Once your scanner is ready, you’ll see a menu with various options. These can range from basic code reading to advanced diagnostics, depending on your scanner model. Common options include:
- Read Codes: Displays Diagnostic Trouble Codes (DTCs) indicating potential problems.
- Erase Codes: Clears stored DTCs after repairs.
- Live Data: Shows real-time sensor readings for advanced troubleshooting.
- Freeze Frame: Provides a snapshot of vehicle data at the moment a DTC was set.
- Vehicle Info: Displays basic information about your car.
- I/M Readiness: Indicates if your vehicle is ready for emissions testing.
Deciphering OBD2 Trouble Codes
DTCs are alphanumeric codes that pinpoint specific issues. They follow a standardized format: one letter followed by four numbers (e.g., P0301).
-
The letter signifies the system:
- P: Powertrain (engine, transmission, emissions)
- B: Body (airbags, interior systems)
- C: Chassis (suspension, steering)
- U: Network communication
-
The numbers provide more detail:
- The first number is 0 for generic codes or 1 for manufacturer-specific codes.
- The second number indicates the specific system or sub-system.
- The third and fourth numbers pinpoint the exact component or fault.
For example, P0301 indicates a generic powertrain code related to a cylinder 1 misfire.
Saving Money with an OBD2 Scanner
An OBD2 scanner can save you money by:
- Early Problem Detection: Identifying issues before they become major repairs.
- Smog Check Readiness: Determining if your car will pass emissions testing.
- DIY Repairs: Enabling you to diagnose and fix simple problems yourself. For instance, a P0138 code points to a faulty oxygen sensor, a relatively easy DIY replacement.
Conclusion
Knowing how to plug in your OBD2 scanner empowers you to take control of your car’s maintenance. By understanding the basics of connecting your scanner and interpreting the codes, you can save time and money on repairs. A reliable OBD2 scanner is a valuable tool for any car owner.