Connecting your car’s OBD2 port to Home Assistant opens a world of possibilities, allowing you to monitor vehicle data and create custom automations. Using an ESP32 with WiCAN firmware offers a seamless way to bridge the gap between your car’s CAN bus and Home Assistant via MQTT. This guide provides a step-by-step approach to setting up this powerful integration.
Setting up WiCAN and Home Assistant for ESP OBD2 Data
The process involves configuring WiCAN, establishing a connection with Home Assistant’s MQTT broker, and utilizing Node-RED for data processing and automation.
Configuring WiCAN for MQTT Communication
-
Initial Setup: Connect to the WiCAN access point (WiCAN_xxxxxxxxxxxx) and navigate to http://192.168.80.1/ in your web browser.
-
Mode Selection: Set the “Mode” to Ap+Station, enabling WiCAN to connect to both your home Wi-Fi and act as an access point.
-
Wi-Fi Configuration: Enter your home Wi-Fi network’s SSID and password.
-
Enabling MQTT: Activate the MQTT option and input the Home Assistant MQTT broker credentials. This requires creating a dedicated user account in Home Assistant for WiCAN with appropriate permissions. This ensures secure communication between your Esp Obd2 device and Home Assistant.
 WiCAN Configuration
Integrating with Home Assistant using Node-RED
-
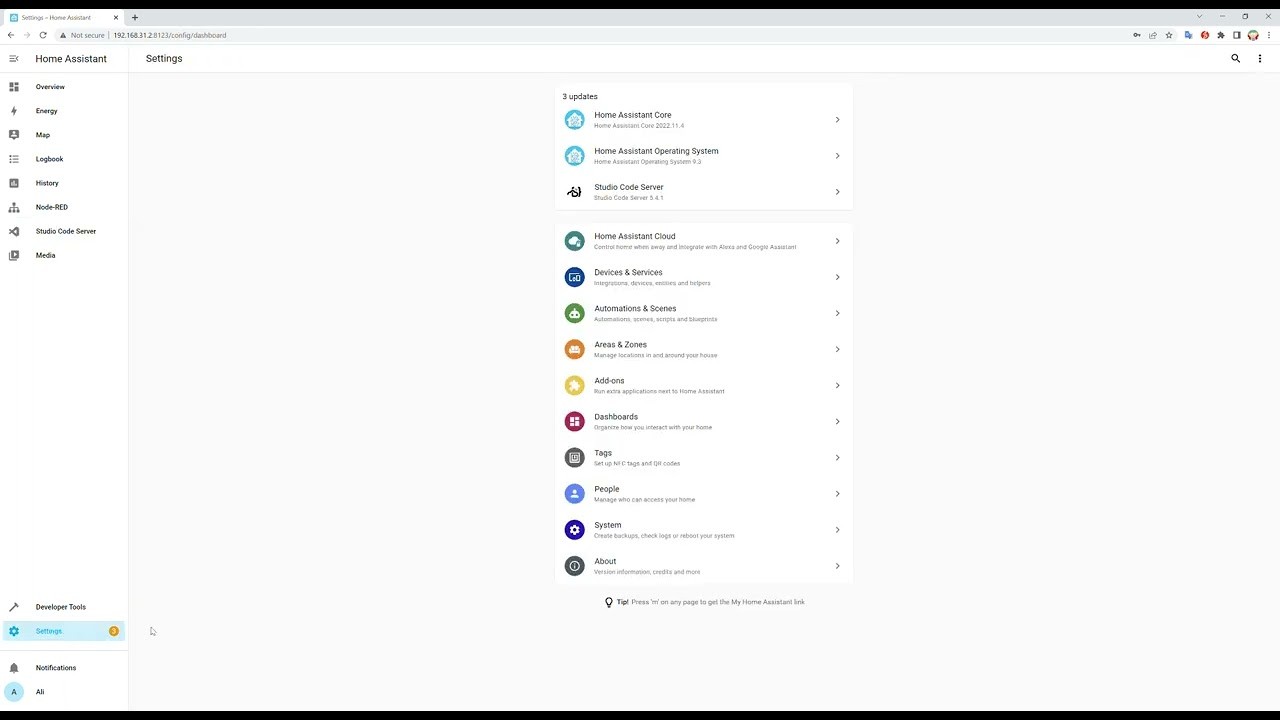
Install Necessary Add-ons: Ensure you have the Mosquitto broker add-on and Node-RED add-on installed in Home Assistant. These provide the MQTT functionality and the visual programming interface for automations.
-
Import Example Flow: Download the “wican_example_flow.json” file from the WiCAN GitHub repository (https://github.com/meatpiHQ/wican-fw#home-assistant) and replace “device_id” with your WiCAN’s unique identifier. This pre-built flow simplifies the initial setup process.
-
Configure Node-RED: Open the Node-RED add-on in Home Assistant, import the modified “wican_example_flow.json” file, and configure the MQTT nodes with the correct broker IP address and the credentials created earlier. This establishes the connection between Node-RED and your MQTT broker. The video tutorial (https://youtu.be/oR5HQIUPR9I) provides a visual guide to this process.
-
Deploy the Flow: Deploy the configured Node-RED flow to activate the data processing and automation logic.
Creating MQTT Sensors in Home Assistant
To visualize the received data, create MQTT sensors within Home Assistant’s configuration.yaml file:
mqtt:
  sensor:
    - name: "Amb Temp"
      state_topic: "CAR1/Amb_Temp"
      unit_of_measurement: "C"
      value_template: "{{ value_json.amb_temp }}"
    - name: "Fuel Level"
      state_topic: "CAR1/Fuel_Level"
      unit_of_measurement: "%"
      value_template: "{{ value_json.fuel_level }}"
Remember to replace "CAR1" with your WiCAN’s device ID. Restart Home Assistant after adding these sensors. Finally, add the new sensors to your Home Assistant dashboard for easy monitoring. You can customize these sensors to display any data available from your car’s OBD2 port via the ESP32 and WiCAN.
Conclusion
By leveraging the power of ESP OBD2, WiCAN, MQTT, and Node-RED, you can seamlessly integrate your vehicle data into Home Assistant. This opens up numerous opportunities for monitoring vehicle health, creating custom automations based on real-time data, and gaining deeper insights into your car’s performance. This comprehensive guide provides a solid foundation for harnessing the potential of esp obd2 data within the Home Assistant ecosystem.
