
Connecting an OBD2 scanner, also known as a car code reader, is the first step in diagnosing car problems. This guide will walk you through locating the OBD2 port, understanding scanner menus, deciphering trouble codes, and ultimately, how an Escáner Obd2 Autozone can save you money on car repairs. AutoZone offers a variety of OBD2 scanners to fit your needs, from basic code readers to advanced diagnostic tools.
Locating Your Vehicle’s OBD2 Port
The OBD2 port, a 16-pin trapezoid-shaped connector, is typically located under the driver’s side dashboard. However, it can sometimes be hidden in the center console or under the passenger side dash. Once located, connecting your escáner obd2 autozone is straightforward: the connector only fits one way. Ensure a secure connection by gently but firmly pushing the scanner into the port.
 OBD2 port location under the dashboard
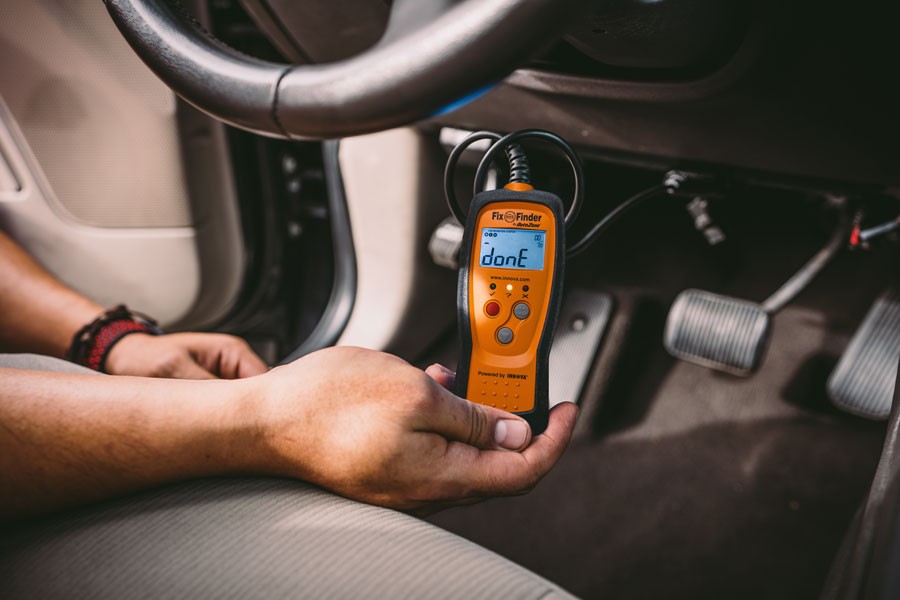
Powering Up Your OBD2 Scanner
The correct sequence for connecting your escáner obd2 autozone is crucial:
- Turn the ignition off.
- Connect the scanner to the OBD2 port.
- Turn the ignition to the ‘on’ position without starting the engine.
- The scanner should power up. Allow it to complete its boot sequence.
- Follow any on-screen prompts, such as entering your vehicle’s VIN or engine size.
Navigating Your OBD2 Scanner Menu
After the boot sequence, your escáner obd2 autozone will display a menu with various options, depending on the model. Common options include:
- Read Codes: Displays Diagnostic Trouble Codes (DTCs), often with brief descriptions of the faults.
- Erase Codes: Clears stored DTCs from the vehicle’s computer. Always confirm before erasing.
- Live Data: Provides real-time sensor readings, allowing you to monitor various system parameters.
- Freeze Frame: Captures vehicle data at the moment a DTC was set.
- Vehicle Info: Displays vehicle-specific information like VIN and engine size.
- I/M Readiness: Shows the status of emissions-related systems for smog testing.
Understanding OBD2 Trouble Codes
When “Read Codes” is selected, your escáner obd2 autozone will display a code like “P0301.” Deciphering these codes is key to understanding the problem:
- The first letter (P, B, C, or U) indicates the system: Powertrain, Body, Chassis, or Network.
- The first number (0 or 1) indicates whether the code is generic (0) or manufacturer-specific (1).
- The remaining three numbers pinpoint the specific fault within the system. For instance, “P0301” signifies a generic powertrain code for a cylinder 1 misfire.
Leveraging Your OBD2 Scanner for Savings
An escáner obd2 autozone offers several ways to save on car repairs:
- Early Diagnosis: Identify potential problems early, preventing minor issues from becoming major ones.
- Smog Check Readiness: Determine if your vehicle is ready for emissions testing, avoiding failed tests and retesting fees.
- DIY Repairs: Diagnose and fix simple problems yourself, eliminating diagnostic fees and potentially reducing labor costs. For example, a “P0138” code indicates a faulty oxygen sensor, a relatively easy DIY replacement.
Conclusion
An escáner obd2 autozone empowers you to take control of your vehicle’s maintenance and repairs. By understanding how to use it effectively, you can save money, diagnose problems early, and gain a deeper understanding of your car’s health. Visit your local AutoZone to find the right OBD2 scanner for your needs and embark on your DIY car repair journey. AutoZone also offers a Loan-a-Tool program, allowing you to borrow a scanner for free.