
Connecting your PC to a WiFi OBD2 scanner opens up a world of diagnostic possibilities for your car. This guide provides a step-by-step walkthrough on how to connect and utilize this powerful tool, focusing on the popular Foxwell NT809BT scanner.
 alt Foxwell NT809BT OBD2 Scanner connected to a car’s OBD2 port.
Understanding OBD2 Scanners and Their Benefits
An OBD2 (On-Board Diagnostics) scanner is a device that communicates with your car’s computer system to retrieve diagnostic information. A WiFi-enabled OBD2 scanner, like the Foxwell NT809BT, transmits this data wirelessly to your PC, providing a more in-depth analysis of your vehicle’s health. This allows you to diagnose issues, monitor performance, and potentially save on costly repair bills.
Why Choose a WiFi OBD2 Scanner like the Foxwell NT809BT?
The Foxwell NT809BT stands out for several reasons:
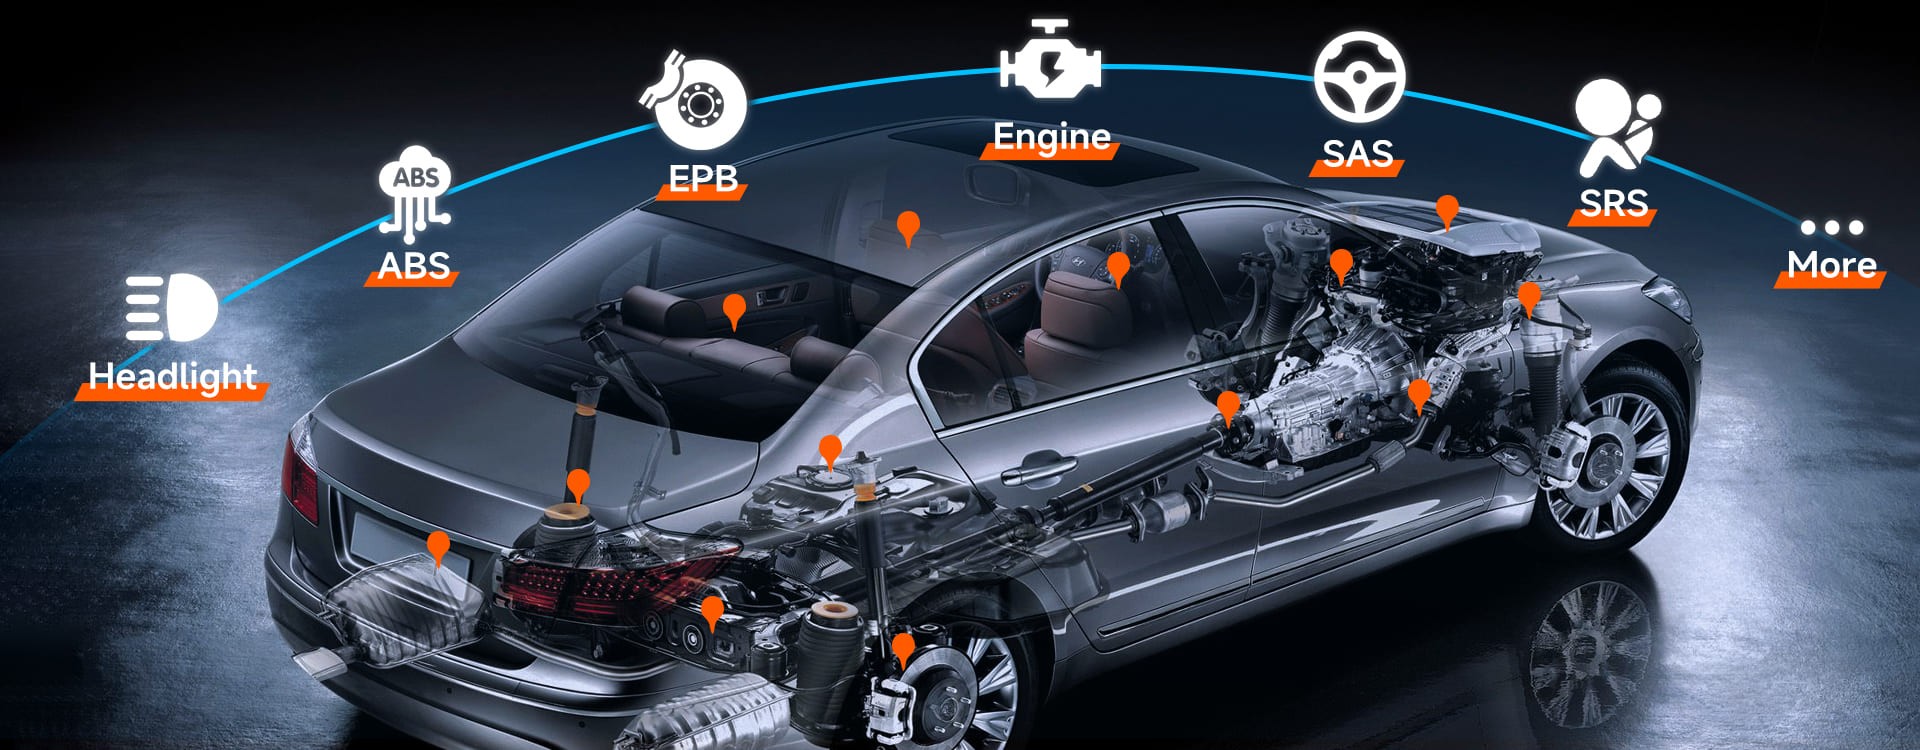
- Comprehensive Diagnostics: Accesses a wide range of vehicle systems, from engine and transmission to ABS and airbags.
- Real-Time Data: Monitors live data streams like RPM, coolant temperature, and fuel pressure, allowing for dynamic analysis.
- Wireless Convenience: Connects seamlessly to your PC via WiFi, eliminating cable clutter.
Preparing for Connection: Essential Requirements
Before connecting your PC to the Foxwell NT809BT, gather the following:
- A laptop or PC with WiFi capability.
- The Foxwell NT809BT OBD2 scanner.
- Access to your vehicle’s OBD2 port (typically located under the dashboard).
- Compatible diagnostic software installed on your PC (e.g., Torque, OBD Auto Doctor, Foxwell software). Ensure your car’s ignition is switched to the “ON” position (without starting the engine) to power the car’s systems.
Connecting Your PC to the Foxwell NT809BT: A Step-by-Step Guide
Step 1: Connecting the Scanner
Locate your car’s OBD2 port and firmly plug in the Foxwell NT809BT. The device will power on, indicated by illuminated lights.
Step 2: Establishing a WiFi Connection
On your PC, navigate to WiFi settings and search for available networks. Connect to the NT809BT’s network (e.g., “NT809BT_WIFI”) using the default password provided in the manual.
Step 3: Configuring Diagnostic Software
Launch your chosen diagnostic software and locate the connection settings. Select “WiFi” as the connection method, then input the NT809BT’s IP address and port number (found in the manual). Save these settings.
Step 4: Verifying the Connection
Utilize the software’s “Test Connection” feature to ensure a successful connection. If successful, real-time vehicle data will begin to populate the software interface.
Advanced Features of the Foxwell NT809BT
The Foxwell NT809BT offers significant advantages over basic OBD2 scanners:
- Over-the-Air Updates: Stay current with the latest software and vehicle compatibility via WiFi updates.
- Full System Coverage: Diagnose issues across various vehicle systems, not just the engine.
- Versatile Operation: Use as a standalone device with its integrated touchscreen or connect to a PC for enhanced analysis.
Troubleshooting Connection Issues
- PC Cannot Detect the NT809BT’s Network: Verify the scanner is securely plugged in and the car’s ignition is in the “ON” position.
- Software Fails to Read Data: Double-check the accuracy of the entered IP address and port number. Restart both the scanner and your PC.
- Intermittent Connection Drops: Ensure your PC is within a reasonable range of the scanner and check for firmware updates to address potential bugs.
Optimizing Your Diagnostic Setup
- Regular Updates: Keep the NT809BT’s firmware updated for optimal performance and compatibility.
- Software Customization: Tailor your diagnostic software display to prioritize the data most relevant to your needs.
- Data Logging: Leverage your PC to save and export diagnostic reports, enabling you to track issues over time.
Conclusion
The Foxwell NT809BT, coupled with a PC, empowers car owners with advanced diagnostic capabilities. By following these steps, you can unlock valuable insights into your vehicle’s performance and health, potentially saving time and money on repairs. This powerful combination provides a comprehensive solution for both DIY enthusiasts and professional mechanics.