Understanding how to use an OBD2 scanner to reset codes is a crucial skill for any car owner. When your car’s “Check Engine” light comes on, it signals a potential problem detected by the onboard diagnostic system (OBD2). An OBD2 scanner allows you to read these trouble codes, understand the issue, and, importantly, clear them once resolved. This article will guide you through the process of using an OBD2 scanner to reset codes and explain why it’s necessary.
Understanding OBD2 Codes and Why We Reset Them
OBD2 (Onboard Diagnostics II) is a standardized system in vehicles that diagnoses and reports problems. When an issue occurs, the system stores a specific code, triggering the Check Engine light. These codes are categorized as generic (P0XXX) or manufacturer-specific (P1XXX). Resetting or clearing these codes is essential for several reasons:
- Confirming Repairs: After fixing a problem, resetting the codes confirms the issue is resolved. If the code reappears, further diagnosis is needed.
- Passing Emissions Tests: A persistent Check Engine light due to stored codes can cause an emissions test failure. Clearing the codes after repairs ensures a successful test.
- Improved Performance: Some codes indicate issues that impact performance, fuel efficiency, or emissions. Clearing them after repairs restores optimal operation.
- Avoiding False Alarms: Sometimes codes are triggered by temporary glitches. Resetting them helps eliminate unnecessary warnings.
- Peace of Mind: Clearing the Check Engine light after addressing an issue provides peace of mind.
How to Reset Codes with an OBD2 Scanner: A Step-by-Step Guide
The process of resetting codes with an OBD2 scanner is generally straightforward:
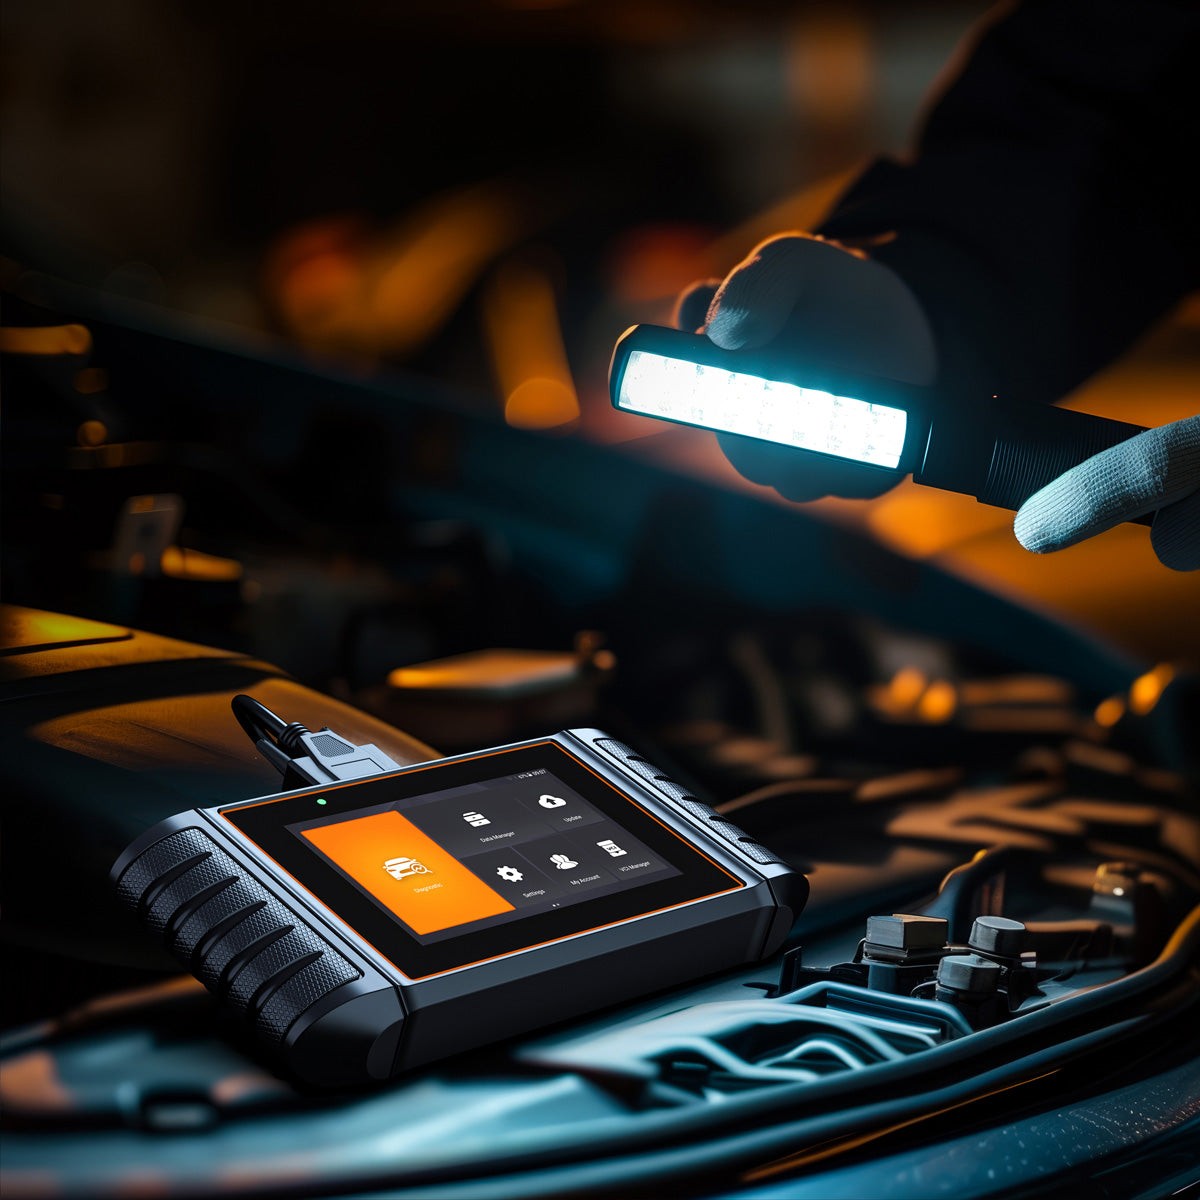
1. Choosing the Right Scanner
OBD2 scanners range from basic code readers to advanced diagnostic tools. Choose a scanner that meets your needs and budget. Foxwell scanners, for example, offer a good balance of functionality and user-friendliness.
2. Preparing Your Vehicle
Park your car, turn off the ignition, and locate the OBD2 port, usually under the dashboard on the driver’s side. Consult your car’s manual for specific instructions.
3. Connecting the Scanner
Plug the OBD2 scanner into the port. Turn the ignition key to the “on” position without starting the engine. This allows the scanner to power up and communicate with the car’s computer.
4. Reading and Clearing the Codes
Most scanners have a simple menu for navigating functions. Select “Read Codes” to display the stored trouble codes. After reviewing the codes, choose the option to “Clear Codes” or “Erase Codes.” The scanner might ask for confirmation.
5. Verification
Restart your vehicle. The Check Engine light should be off if the issue was resolved. If it returns, the problem likely persists and requires further attention.
Troubleshooting and Common Mistakes
- Codes Reappear: If codes return after clearing, the underlying problem hasn’t been fixed. Re-scan and diagnose the issue.
- Using the Wrong Scanner: Ensure your scanner is compatible with your car’s make and model.
- Ignoring the Root Cause: Clearing codes without addressing the problem only provides a temporary fix.
When to Seek Professional Help
If you encounter complex codes, are unsure about the diagnosis, or lack the tools to fix the problem, consult a qualified mechanic.
Conclusion
Learning to reset OBD2 codes with a scanner empowers you to maintain your car effectively. By understanding the codes and utilizing the scanner correctly, you can address minor issues promptly, potentially preventing more significant problems and saving money on repairs. Remember, clearing codes is only part of the solution; addressing the underlying issue is crucial for long-term vehicle health.