
The Toyota Prius, a beacon of hybrid technology, presents unique challenges when it comes to mileage correction. Unlike many American cars with straightforward, menu-driven correction tools, the Prius requires a deeper dive into its electronic heart. This article explores the intricacies of adjusting the Prius odometer, providing a DIY guide for those comfortable with electronics and soldering.
Locating and Accessing the Odometer Data
The Prius stores its odometer reading in a 93C66 EEPROM chip located beneath the LCD screen on the combination meter. Accessing this chip requires careful desoldering of the LCD, a process that demands patience and precision. While removing the LCD is time-consuming, understanding the chip’s location is crucial for mileage correction.
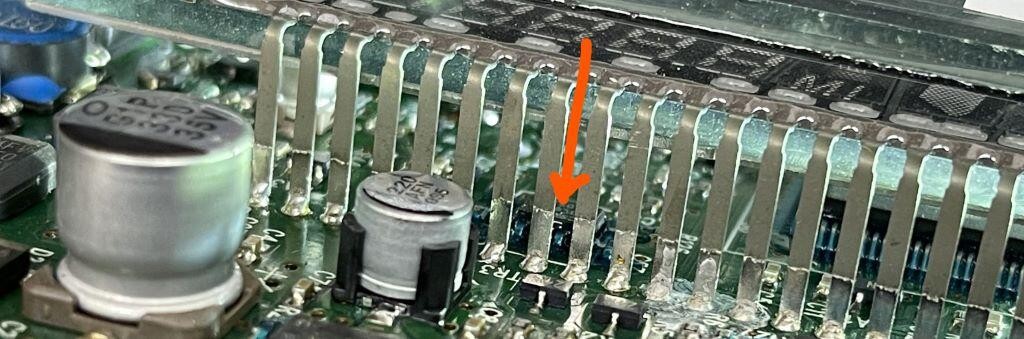
Once the LCD is removed, the solder mask on the 93C66 chip’s pins needs to be removed to allow for connections.
Fortunately, direct access to the chip pins is possible via test pads on the back of the board, eliminating the need for LCD removal. Using an ohmmeter, you can identify the corresponding test points for easier connection.
Deciphering the Odometer Data
The odometer reading is stored as a 4-digit hexadecimal code, multiplied by 17 to represent the actual mileage. For instance, the hex code 1673 (decimal 5747) equates to 97,699 miles (17 x 5747). This value is repeated 17 times within the EEPROM data.
To achieve single-mile increments, the Prius employs a system of weighted hex codes. Instead of simply incrementing the hex value, a combination of two hex codes, repeated a specific number of times, determines the final mileage.
For example, repeating 1673 ten times and 1672 seven times results in a mileage of 97,692. This intricate system allows for precise mileage adjustments. However, simply changing the repeated codes won’t work; a “mask” of 0000 and FFFF values following the odometer data also plays a crucial role in calculating the final mileage. Modifying this mask in conjunction with the hex codes is key to successful odometer correction.
Reading and Writing to the EEPROM
Modifying the odometer requires an EEPROM programmer. Affordable options like the XGecu programmer are available online. These programmers, coupled with readily available software, allow for reading and writing data to the EEPROM chip.
To streamline the process, consider creating a custom adapter using pogo pins. This allows for quick and reliable connections to the test points on the circuit board, significantly reducing setup time for future adjustments.
Verifying the Corrected Mileage
Before reinstalling the combination meter, verify the adjusted mileage by applying 12V power to pin 22 and ground to pin 14. The odometer display should reflect the new mileage. While speedometer functionality cannot be tested on the bench due to reliance on network signals, confirming the odometer reading is essential.
Conclusion
Adjusting the odometer on a Toyota Prius requires a more hands-on approach compared to using a standard Mileage Correction Tool For American Cars. However, with careful execution and a thorough understanding of the underlying principles, DIY mileage correction is achievable. This process requires specialized tools and knowledge, but offers a valuable alternative to traditional methods.