Keeping your car aligned is crucial for tire longevity, fuel efficiency, and overall handling. Frequent alignments at auto shops can become costly, especially after off-road adventures or encountering rough roads. Many car enthusiasts and DIY mechanics are now turning to home alignment methods. In the past, string alignments were a popular DIY approach, particularly in racing environments for adjusting toe. While effective and economical, string alignments can be time-consuming to set up accurately. Toe plates offer another solution, but their effectiveness can be compromised with off-road tires. Pre-built string jigs, while convenient, are often bulky and difficult to store. This guide introduces a streamlined and accurate alternative: using a Laser Alignment Tool For Cars. This method utilizes an easily accessible laser level to achieve precise toe adjustments, comparable to string alignment but with greater ease and efficiency.
This DIY laser alignment method offers a practical and cost-effective way to maintain your car’s alignment at home, saving you money and ensuring optimal vehicle performance. It focuses on toe adjustment, which is often the primary alignment concern for regular car maintenance. Camber adjustments can be checked with a digital level, and caster measurements are best handled with a dedicated caster tool if necessary for more advanced adjustments.
Why Choose a Laser Alignment Tool for DIY Car Alignment?
Compared to traditional string methods or bulky jigs, using a laser alignment tool offers several advantages for DIY car enthusiasts:
- Accuracy and Precision: Laser levels provide a highly accurate reference line, allowing for precise toe measurements and adjustments. This precision rivals professional alignment equipment when properly executed.
- Ease of Use: Setting up a laser level is significantly faster and simpler than stringing lines perfectly parallel to a vehicle. The laser beam projects a clear reference point for easy measurement.
- Cost-Effectiveness: A quality laser level is a versatile tool that can be used for various DIY projects beyond car alignment. Investing in a laser level can save you significant money on repeated professional alignment services.
- Compact Storage: Unlike bulky string jigs, a laser level is compact and easy to store, making it ideal for home garages with limited space.
- Adaptability: This method is adaptable to various vehicle types, including off-road vehicles, by using spacers to account for tire bulges, ensuring accurate readings even with non-standard tires.
Essential Tools for Laser Car Alignment
To perform a DIY laser car alignment, you’ll need a few readily available tools:
- Standard Ruler: A ruler with clear markings, preferably in lighter colors for better visibility in various lighting conditions.
- Laser Level: A 24-inch digital laser level with an angle finder is highly recommended for accuracy and ease of use. A model like this 24-inch digital laser level from Harbor Freight provides the necessary features at an affordable price.
- Woodworking Clamps: Bar clamps, such as 12-inch ratcheting bar clamps from Harbor Freight, are used to securely attach the laser level to the wheel.
- Spacer Material (2×4 or similar): A straight and flat piece of material like a 2×4 is used to offset the laser level from the tire bulge, ensuring accurate measurements. Ensure the material is not warped and has a consistent thickness.
Step-by-Step Guide to Performing Laser Car Alignment
Follow these steps to perform a DIY car alignment using your laser alignment tool:
-
Preparation:
- Park your car on a level surface. Ensure the tires are properly inflated to the recommended pressure.
- Slightly loosen the lug nuts on the front wheels. This will make adjustments easier later.
- Identify the vehicle’s toe specifications. This information can be found in your car’s owner’s manual or a repair manual.
-
Setting up the Laser Level:
- Select a rear wheel to start with.
- Place the 2×4 spacer against the wheel rim, avoiding contact with the tire itself.
- Clamp the laser level securely to the spacer, ensuring the laser beam is parallel to the ground and projects forward towards the front wheel on the same side of the car.
- Position the laser level so that the beam is aimed at the front wheel, and the beam is hitting roughly at the center of the front wheel’s sidewall.
-
Taking Measurements:
- Measure the distance from the laser beam to the front edge of the front wheel rim. Record this measurement.
- Measure the distance from the laser beam to the rear edge of the front wheel rim. Record this measurement.
- Repeat measurements a few times and average the results for better accuracy.
-
Calculating Toe Angle:
- The difference between the front and rear measurements indicates the toe angle.
- If the front measurement is smaller than the rear measurement, your wheel has toe-in (positive toe).
- If the front measurement is larger than the rear measurement, your wheel has toe-out (negative toe).
- Use an online toe angle calculator or the calculator provided below to convert the measurement difference into degrees or millimeters of toe. Drawing a diagram of the setup can help visualize the measurements and calculations.
-
Adjusting Toe:
- Locate the tie rod ends on your vehicle. These are typically located behind the front wheels.
- Loosen the tie rod lock nuts.
- To adjust toe-in, turn the tie rod inwards. To adjust toe-out, turn the tie rod outwards. Make small adjustments and remeasure after each adjustment.
- Aim to adjust the toe to be within the manufacturer’s specifications. For off-road vehicles or trucks with larger tires and softer bushings, a slight toe-in setting is often beneficial for highway driving and tire wear.
-
Repeat for the Other Side:
- Repeat steps 2-5 for the other front wheel, using the opposite rear wheel as your reference point for the laser level.
- Ensure both sides are adjusted to the desired toe settings.
-
Final Checks:
- Once you are satisfied with the toe adjustments, tighten the tie rod lock nuts and the front wheel lug nuts to the correct torque specifications.
- Take the car for a short test drive and check for any unusual handling or tire noise.
- Re-measure the alignment after the test drive to confirm the settings have held.
Pro Tips for Accurate Laser Alignment
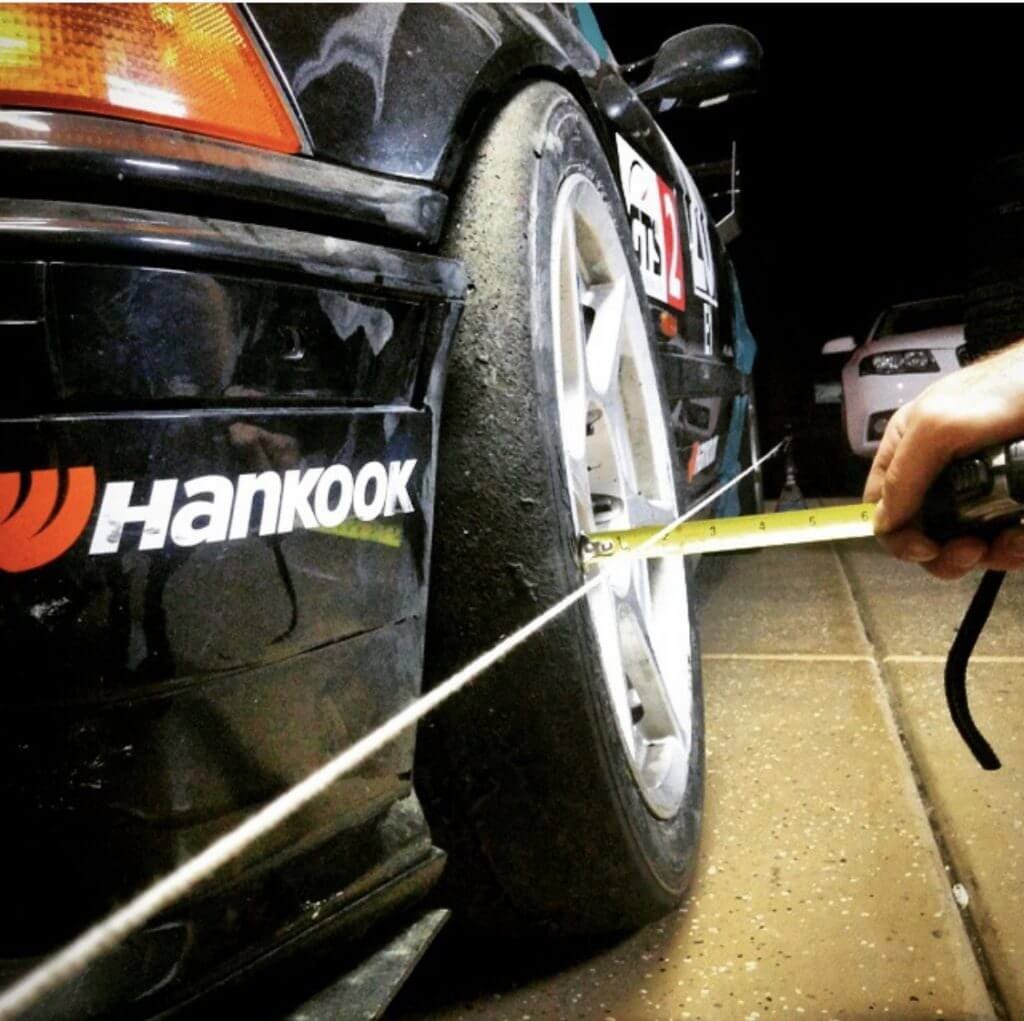
- Work in a Dimly Lit Area: A darker garage or working at night will make the laser beam more visible and easier to measure against the wheel rim.
- Take Multiple Measurements: Take several measurements for each wheel and average them to minimize errors and ensure consistency.
- Consider a Second Laser Level: If you frequently perform alignments, investing in a second laser level will significantly speed up the process, allowing you to measure both sides simultaneously without switching the laser level back and forth.
- Account for Tire Bulge: Always use a spacer to offset the laser level from the tire sidewall, especially with larger or off-road tires. Clamping directly onto the tire will result in inaccurate readings due to tire squish.
- Understand Toe Settings for Your Vehicle: Factory toe specifications are a good starting point, but consider your driving conditions. Slight toe-in can improve straight-line stability and tire wear, especially for trucks and off-road vehicles. However, aggressive toe-out settings are sometimes used for racing applications, but are not suitable for everyday driving.
Alignment Calculator
To simplify the toe calculation process, use the calculator below. Simply input your front and rear measurements in inches or millimeters, ensuring you use the same units for all fields.
(Positive toe = Toe in, Negative toe = Toe out)